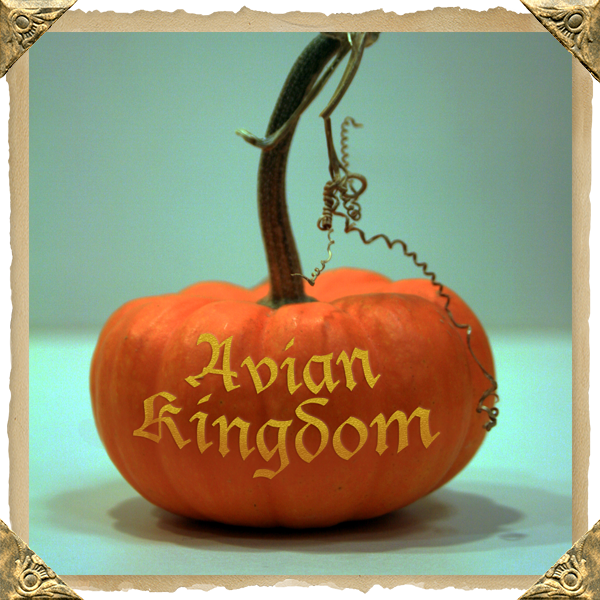
 Pumpkin carving is always a fun activity for the entire family. To make sure you have a great pumpkin this Halloween, Avian Kingdom has compiled a few tips for you to follow.
Pumpkin Carving 101
Pick Your Pumpkin
Try to pick the best pumpkin for the design you are trying to achieve. For a more elaborate carving, try to find a pumpkin with a flat surface. For a scarier face, find a wrinkly or warty pumpkin.
Scoop the Goop
This is usually the messiest part. Avian Kingdom recommends using gloves while scraping out the inside. Also, an ice cream scoop makes this job a lot easier.
Shaving vs. Cutting
Instead of carving all the way through, try shaving off some of the outer layer of the pumpkin skin. This will give your design a two-tone effect and add depth.
Pumpkin Painting
This technique is great for the little ones too young to be using sharp objects. Either paint on your design, or use paint to add detail to your carved pumpkin. These pumpkins look especially good during the day time.
Light It UP
For a new take on an old trick, try lighting your pumpkin with Christmas lights. There are many colors to choose from and flashing lights look especially scary.
Use a Template
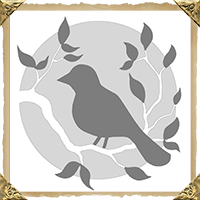
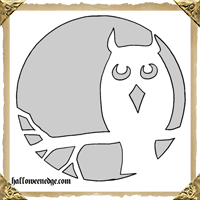
Create your own template or try some of the ones that we’ve provided below. Secure your template to the front of your pumpkin and carefully trace the image by poking holes along the lines. Once you’ve traced the template, remove it and gently carve away your image.
 |
 |
 |
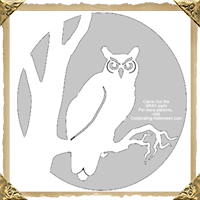 |
Click on any of these images for a link to the full-sized template.
The easiest way it of course location apps because he the simply and clear to all. Won’t raise excess problems and questions. And you don’t want to learn information not necessary to you.
